Hey there, tech enthusiasts! If you're diving into the world of IoT (Internet of Things) and looking to set up a remote P2P (Peer-to-Peer) connection using Raspberry Pi, you're in the right place. The concept of remote IoT P2p Raspberry Pi is gaining massive traction, and it’s not hard to see why. Imagine being able to control your smart devices from anywhere in the world, without the need for complex cloud infrastructure. Sounds cool, right? Let’s break it down and explore how this setup can transform the way you interact with your gadgets.
Now, before we dive deep into the nitty-gritty, let’s talk about why this topic is so relevant today. IoT is no longer just a buzzword; it’s a reality that’s shaping industries, homes, and even cities. And when you combine it with the power of Raspberry Pi, you’ve got yourself a recipe for innovation. Whether you’re a hobbyist or a professional, understanding how to set up a remote IoT P2P system can open up endless possibilities for automation, monitoring, and control.
But hold up! Setting up a remote IoT P2P Raspberry Pi system isn’t as straightforward as it might seem. There are challenges, best practices, and some really cool tools you need to know about. In this article, we’ll walk you through everything you need to get started, from the basics to advanced configurations. So grab a coffee, sit back, and let’s get techy!
Read also:Turk Ifsa Sotwe The Ultimate Guide To Unlocking Your Travel Potential
Table of Contents
- What is Remote IoT P2P?
- Raspberry Pi: The Heart of the System
- Benefits of Remote IoT P2P with Raspberry Pi
- Hardware Requirements
- Software Setup and Configuration
- Security Considerations
- Troubleshooting Tips
- Real-World Applications
- Frequently Asked Questions
- Conclusion and Next Steps
What is Remote IoT P2P?
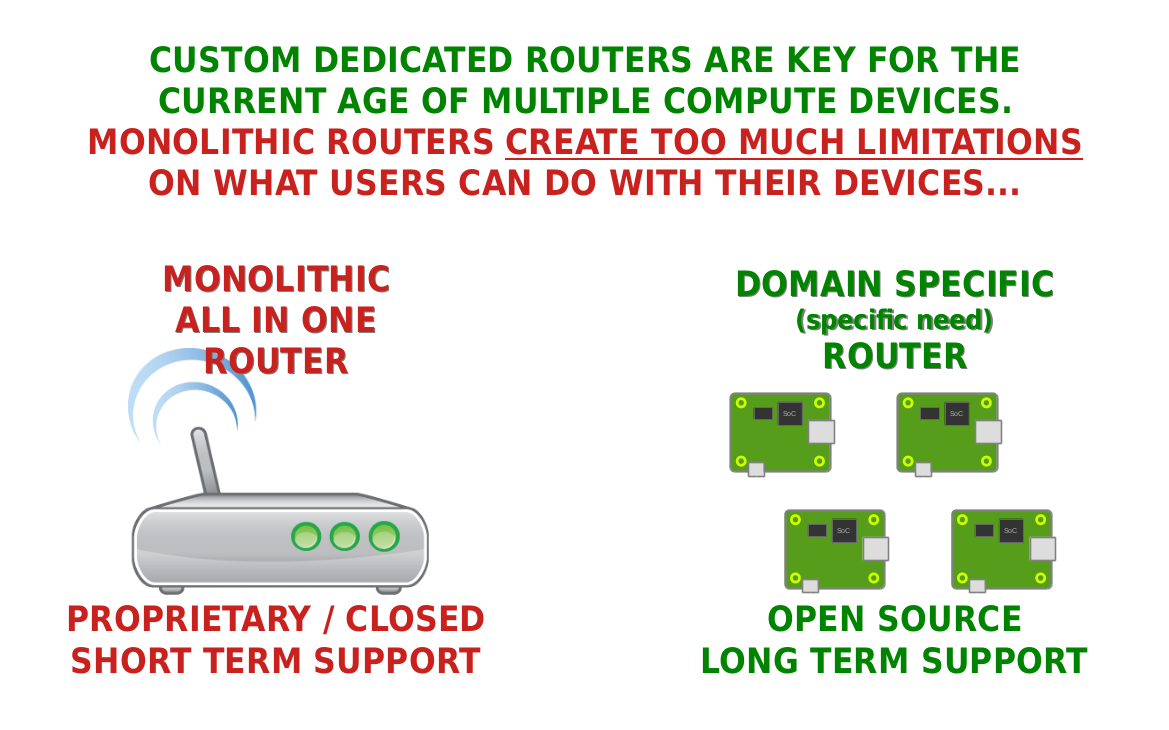
Alright, let’s start with the basics. Remote IoT P2P, or Peer-to-Peer Internet of Things, is all about creating direct connections between devices without relying on centralized servers. Instead of sending data through a cloud-based server, devices communicate directly with each other. This setup reduces latency, improves efficiency, and minimizes the risk of data breaches. And when you throw Raspberry Pi into the mix, you’ve got a compact, affordable, and powerful solution for managing your IoT devices remotely.
Why Choose P2P Over Traditional IoT?
Traditional IoT setups often depend on cloud platforms, which can be expensive and complex to manage. With P2P, you eliminate the middleman, so to speak. Your devices talk directly to each other, making the system faster and more reliable. Plus, it’s easier to scale, especially if you’re working on a budget.
Raspberry Pi: The Heart of the System
Now, let’s talk about the star of the show: Raspberry Pi. This tiny but mighty device has become a go-to choice for developers and hobbyists alike. It’s affordable, versatile, and packed with features that make it perfect for IoT projects. Whether you’re building a home automation system or a remote weather station, Raspberry Pi can handle it with ease.
Key Features of Raspberry Pi
- Compact size
- Low power consumption
- Wide range of GPIO pins for custom projects
- Support for multiple operating systems
- Active community and tons of resources
Benefits of Remote IoT P2P with Raspberry Pi
So, why should you consider setting up a remote IoT P2P system using Raspberry Pi? Let’s break it down:
- Cost-Effective: You don’t need expensive cloud infrastructure to manage your devices.
- Scalable: Add more devices to your network as needed without overhauling the entire system.
- Secure: Direct P2P connections reduce the risk of data breaches.
- Flexible: Raspberry Pi supports a wide range of applications, from home automation to industrial monitoring.
Hardware Requirements
Before you get started, you’ll need a few essential pieces of hardware. Don’t worry; most of these items are affordable and easy to find. Here’s what you’ll need:
- Raspberry Pi (preferably the latest model)
- MicroSD card with pre-installed operating system
- Power supply (USB-C cable)
- Wi-Fi dongle or Ethernet cable
- Sensors or actuators (depending on your project)
Optional Accessories
Depending on your project, you might want to consider adding some optional accessories:
Read also:Mastering The Management Of Raspberry Pi Remotely With Remote Iot Management Platform
- Case for Raspberry Pi
- Heat sinks or fans for cooling
- External storage for data logging
Software Setup and Configuration
Once you’ve got your hardware sorted, it’s time to set up the software. This is where things get interesting. You’ll need to install an operating system on your Raspberry Pi, configure the network settings, and set up the P2P connection. Here’s a step-by-step guide:
Step 1: Install the Operating System
Choose an operating system that suits your project. Raspbian is a popular choice, but you can also use alternatives like Ubuntu or specialized IoT-focused OSes.
Step 2: Configure Network Settings
Set up Wi-Fi or Ethernet to ensure your Raspberry Pi can connect to the internet. You might also want to configure a static IP address for easier access.
Step 3: Set Up P2P Connection
This is the fun part. You’ll need to use tools like WebRTC or Hole Punching to establish a direct connection between your devices. There are plenty of tutorials and libraries available to help you with this step.
Security Considerations
Security is always a top priority when working with IoT devices. Here are a few tips to keep your remote IoT P2P system safe:
- Use strong passwords and enable two-factor authentication.
- Regularly update your software to patch vulnerabilities.
- Encrypt your data to prevent unauthorized access.
Troubleshooting Tips
Even the best-laid plans can go awry. If you run into issues, here are a few troubleshooting tips:
- Check your network settings and ensure your Raspberry Pi is connected to the internet.
- Verify that your P2P software is properly configured.
- Consult the Raspberry Pi forums or GitHub for community support.
Real-World Applications
Now that you know how to set up a remote IoT P2P system using Raspberry Pi, let’s look at some real-world applications:
- Home automation systems
- Remote monitoring of industrial equipment
- Smart agriculture solutions
- Personal health monitoring devices
Frequently Asked Questions
Got questions? We’ve got answers. Here are some common FAQs:
Q: Can I use any Raspberry Pi model for this setup?
A: While any Raspberry Pi model will work, newer models like the Raspberry Pi 4 offer better performance and more features.
Q: Is it safe to use P2P for IoT devices?
A: As long as you follow best security practices, P2P can be a safe and efficient way to connect IoT devices.
Conclusion and Next Steps
And there you have it, folks! A comprehensive guide to setting up a remote IoT P2P system using Raspberry Pi. From understanding the basics to troubleshooting common issues, we’ve covered it all. Remember, the key to success is experimentation and learning from your mistakes.
So, what’s next? Start building your own remote IoT P2P system and see where it takes you. Don’t forget to share your experiences in the comments below and check out our other articles for more tech tips and tricks. Happy building, and stay connected!