So, here's the deal. If you're reading this, chances are you've stumbled upon the magical world of IoT—or the Internet of Things—and you're probably wondering how to make it work with a little device called the Raspberry Pi. Well, buckle up, because we're about to dive into the nitty-gritty of deploying IoT solutions using this awesome little computer. Think of it as your personal tech playground where the only limit is your imagination.
Deploying IoT with Raspberry Pi isn't just for tech wizards anymore. Nowadays, even the average Joe with a basic understanding of coding and electronics can get their hands dirty and create something truly amazing. Whether it's automating your home, building a weather station, or even setting up a security system, the possibilities are endless. And the best part? You don't need a PhD to figure it out.
But before we get too far ahead of ourselves, let's break it down. IoT is all about connecting devices and making them talk to each other over the internet. The Raspberry Pi, on the other hand, is like the Swiss Army knife of computers. It's small, affordable, and packs enough power to handle some pretty heavy tasks. Together, they're like peanut butter and jelly—a match made in tech heaven.
Read also:Best Ssh Remote Iot Device Raspberry Pi Your Ultimate Guide
What is IoT Deployment Anyway?
IoT deployment might sound like a fancy term, but it's really just the process of setting up and running IoT systems. Think of it as building a bridge between the physical world and the digital one. When you deploy IoT, you're essentially creating a network of devices that can communicate and exchange data without human intervention. Sounds cool, right?
Now, when you're talking about deploying IoT with Raspberry Pi, you're looking at a setup where the Pi acts as the brain of the operation. It collects data from sensors, processes it, and sends it off to the cloud or another device. It's like having a personal assistant that keeps an eye on everything for you.
Why Choose Raspberry Pi for IoT?
There are plenty of reasons why Raspberry Pi is the go-to choice for IoT deployment. First off, it's dirt cheap compared to other options. You can pick one up for under $50, which is a steal when you consider what it can do. Plus, it's super versatile. You can use it for anything from home automation to industrial applications.
Another big plus is the community support. There's a whole army of Raspberry Pi enthusiasts out there who are more than happy to help you out if you get stuck. And let's not forget the tons of tutorials and resources available online. It's like having a personal tutor at your fingertips.
Setting Up Your Raspberry Pi for IoT
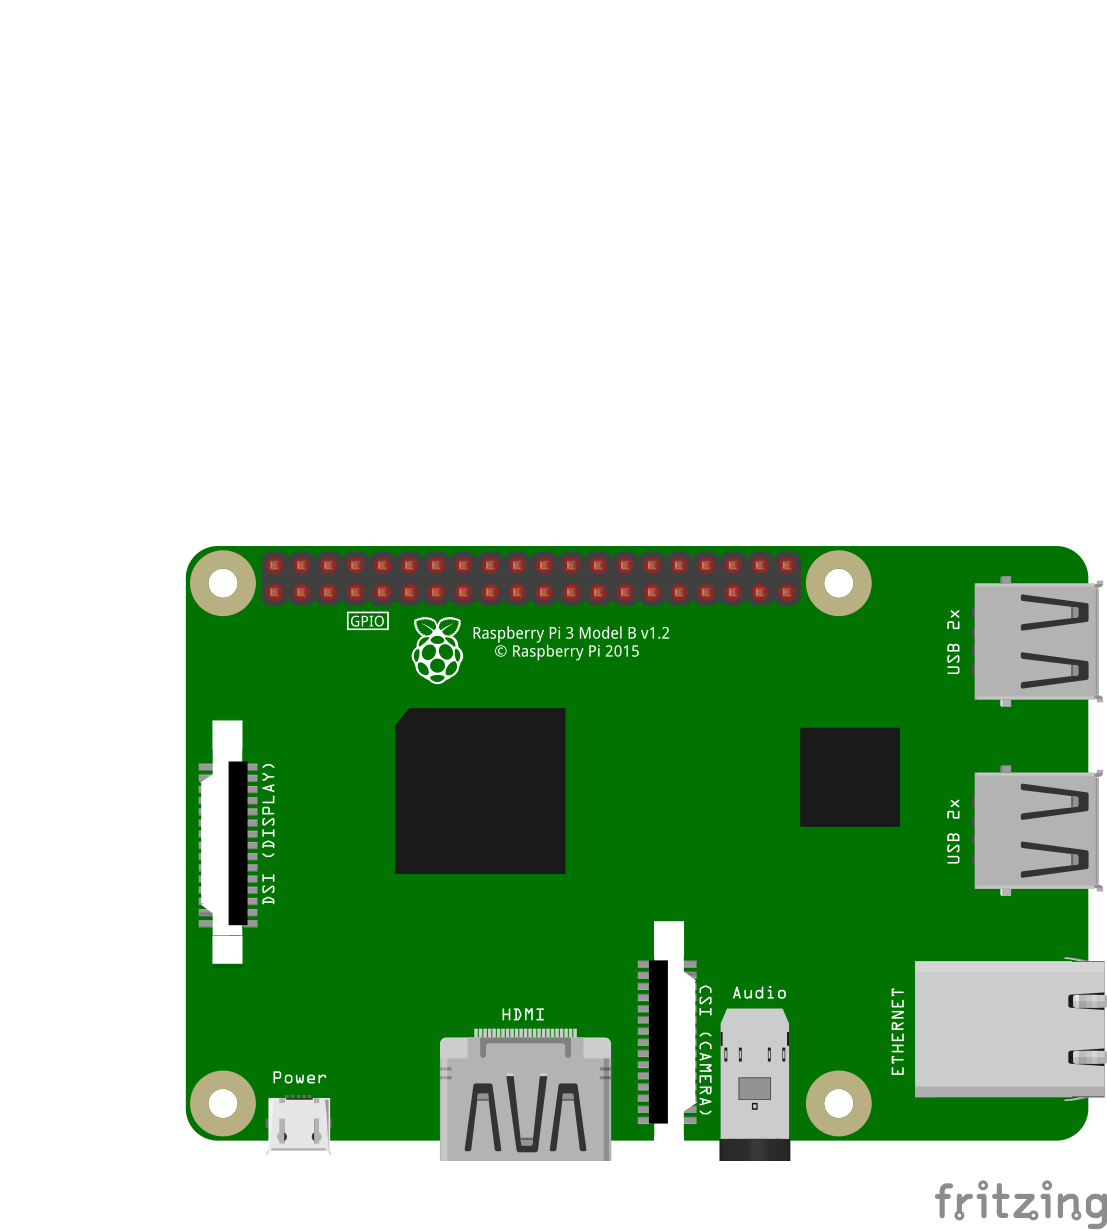
Alright, let's talk about the nitty-gritty of setting up your Raspberry Pi for IoT deployment. The first thing you need to do is get your hands on a Pi. You can grab one from your local tech store or order it online. Once you've got it, you'll need a few other things:
- A microSD card with at least 16GB of storage
- A power supply that matches your Pi model
- An HDMI cable (if you're using a monitor)
- A keyboard and mouse (optional if you're using SSH)
Once you've got all your gear, it's time to install an operating system. Most people go with Raspberry Pi OS, which is specifically designed for the Pi. You can download it from the official website and use a tool like Balena Etcher to flash it onto your microSD card.
Read also:Mastering Remoteiot Vpc Ssh A Raspberry Pi Aws Example For Beginners
Connecting Sensors and Devices
Now that your Pi is up and running, it's time to connect some sensors and devices. This is where the fun really begins. You can hook up all sorts of gadgets, from temperature sensors to motion detectors. The key is to make sure your Pi can communicate with them.
Most sensors and devices use interfaces like GPIO, I2C, or SPI. If you're new to this, don't worry. There are plenty of libraries and code snippets out there that can help you get started. Just make sure you do your research and choose the right ones for your project.
Choosing the Right IoT Platform
When it comes to IoT deployment, choosing the right platform is crucial. Think of it as the foundation of your project. There are tons of options out there, from cloud-based platforms like AWS IoT and Azure IoT to open-source solutions like Home Assistant and OpenHAB.
Each platform has its own strengths and weaknesses, so it's important to choose one that fits your needs. For example, if you're building a home automation system, you might want to go with a platform that integrates well with smart home devices. On the other hand, if you're working on an industrial project, you might need something more robust and scalable.
Setting Up a Local IoT Server
Another option is to set up a local IoT server using your Raspberry Pi. This is a great choice if you want to keep your data private or if you're working in an environment where internet connectivity is unreliable. There are several ways to do this, but one of the most popular is using Mosquitto, an open-source MQTT broker.
Mosquitto allows your devices to communicate with each other using the MQTT protocol, which is lightweight and perfect for IoT applications. Plus, it's easy to set up and configure, even for beginners.
Programming Your IoT Devices
Now that your hardware is all set up, it's time to write some code. Programming IoT devices with Raspberry Pi is where the magic happens. You can use a variety of programming languages, but the most popular ones are Python and Node.js.
Python is great for beginners because it's easy to learn and has a ton of libraries and frameworks that make IoT development a breeze. Node.js, on the other hand, is perfect for real-time applications and has a large community of developers who contribute to its ecosystem.
Using Python for IoT
If you're new to programming, Python is a great place to start. It's simple, powerful, and has a ton of resources available online. To get started, you'll need to install the necessary libraries and dependencies. Some of the most popular ones for IoT development include:
- RPi.GPIO: For controlling the GPIO pins on your Pi
- Adafruit_DHT: For working with DHT temperature and humidity sensors
- MQTT: For setting up MQTT communication
Once you've got your libraries installed, you can start writing code to control your devices. Don't worry if it seems overwhelming at first. Just take it one step at a time, and you'll be a pro in no time.
Security Considerations for IoT Deployment
Now, let's talk about something that's often overlooked but is super important—security. When you're deploying IoT devices, you're essentially opening up a window into your network. If you're not careful, that window can be a goldmine for hackers.
To keep your devices and data safe, there are a few things you can do:
- Use strong passwords and enable two-factor authentication whenever possible
- Keep your software and firmware up to date
- Use encryption for data transmission
- Limit access to your devices and only allow trusted connections
By taking these precautions, you can significantly reduce the risk of a security breach and keep your IoT deployment running smoothly.
Best Practices for Securing Your Raspberry Pi
When it comes to securing your Raspberry Pi, there are a few best practices you should follow:
- Change the default username and password
- Disable SSH access if you're not using it
- Use a firewall to control incoming and outgoing traffic
- Regularly back up your data
These might seem like small things, but they can make a big difference in keeping your Pi secure. And remember, security is an ongoing process, so don't get complacent.
Real-World Applications of IoT with Raspberry Pi
So, we've talked a lot about the technical side of things, but what about the real-world applications? The truth is, the possibilities are endless. Here are just a few examples of how people are using IoT with Raspberry Pi:
- Smart Home Automation: Control your lights, thermostat, and security system from your phone
- Environmental Monitoring: Set up a weather station to track temperature, humidity, and air quality
- Industrial IoT: Monitor machinery and optimize production processes
- Healthcare: Develop wearable devices that track vital signs and alert caregivers in case of emergencies
These are just a few examples, but the potential is truly limitless. With a little creativity and some coding skills, you can build something that solves a real-world problem or makes your life easier.
Case Study: Building a Smart Garden
Let's take a look at a real-world example of IoT deployment with Raspberry Pi. Imagine you're a gardening enthusiast who wants to create a smart garden. You can use your Pi to monitor soil moisture, temperature, and sunlight levels. Based on this data, you can automatically water your plants and adjust the lighting to ensure optimal growing conditions.
This not only saves you time but also helps you grow healthier plants. And the best part? You can access all this information from anywhere in the world using your smartphone. It's like having a personal gardener at your fingertips.
Troubleshooting Common Issues
No matter how careful you are, things can go wrong. That's why it's important to know how to troubleshoot common issues when deploying IoT with Raspberry Pi. Here are a few things to watch out for:
- Connection Problems: Make sure your devices are properly connected and that your network settings are correct
- Software Bugs: Check your code for errors and make sure all your libraries are up to date
- Power Issues: Ensure your Pi is getting enough power and that your power supply is stable
By addressing these issues early on, you can save yourself a lot of headaches down the road. And if all else fails, don't hesitate to reach out to the Raspberry Pi community for help. Chances are, someone else has already solved the problem you're facing.
Optimizing Your IoT Deployment
Once you've got your IoT deployment up and running, it's time to optimize it for performance. Here are a few tips to help you get the most out of your setup:
- Use Efficient Protocols: Choose protocols like MQTT that are lightweight and designed for IoT
- Minimize Data Transfer: Only send the data you need and compress it whenever possible
- Monitor Performance: Keep an eye on your system's performance and make adjustments as needed
By following these tips, you can ensure your IoT deployment runs smoothly and efficiently, even as it grows in complexity.
Conclusion: Take Your IoT Deployment to the Next Level
So, there you have it—a comprehensive guide to deploying IoT with Raspberry Pi. From setting up your hardware to writing code and optimizing your deployment, we've covered all the bases. Remember, the key to success is to start small and build from there. Don't be afraid to experiment and try new things. After all, that's what makes IoT so exciting.
Now that you've got the knowledge, it's time to take action. Whether you're building a smart home, monitoring the environment, or solving a real-world problem, the possibilities are endless. And don't forget to share your experience with the community. Who knows? You might just inspire someone else to take the plunge into the world of IoT.
Table of Contents
- What is IoT Deployment Anyway?
- Why Choose Raspberry Pi for IoT?
- Setting Up Your Raspberry Pi for IoT
- Choosing the Right IoT Platform
- Programming Your IoT Devices
- Security Considerations for IoT Deployment
- Real-World Applications of IoT with Raspberry Pi
- Troubleshooting Common Issues
- Optimizing Your IoT Deployment
- Conclusion: Take Your IoT Deployment to the Next